BAW - Editing Banners (Inside Pages)
Introduction
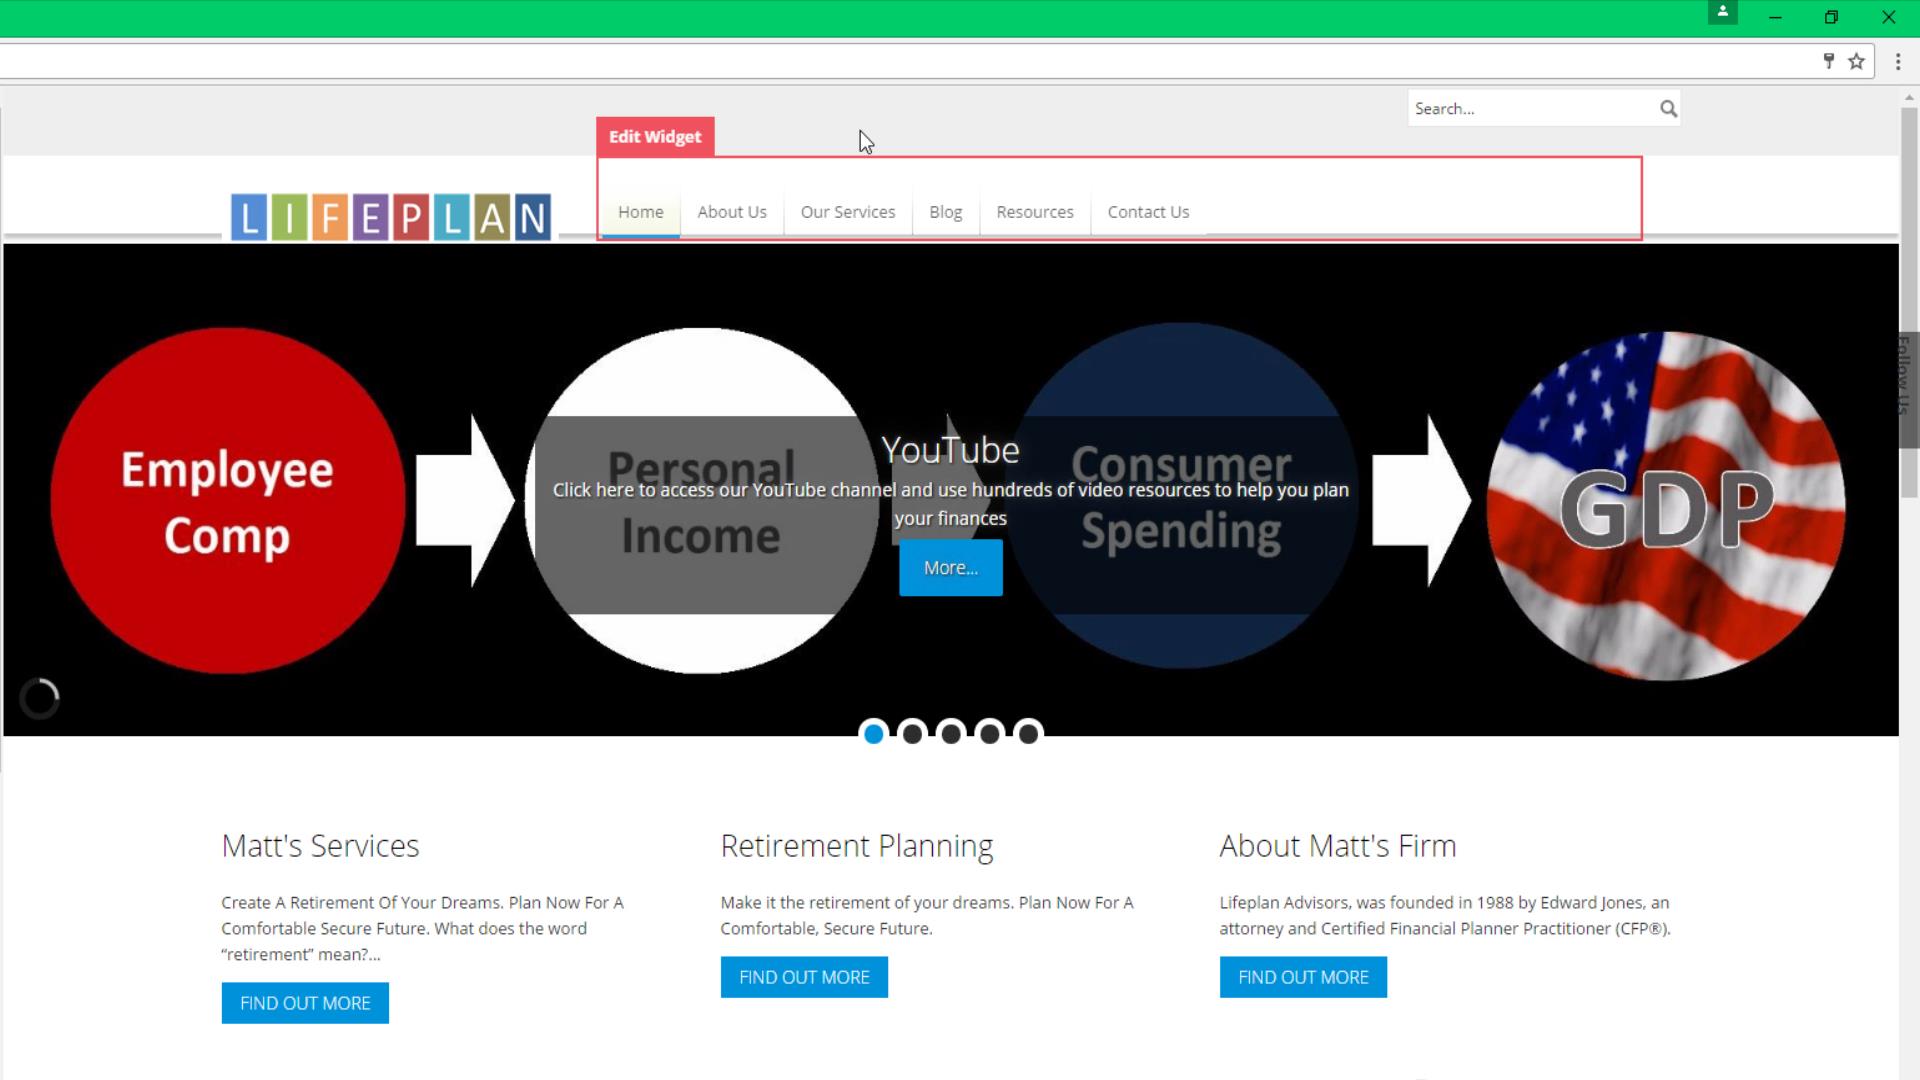


Adding an inside page banner


Editing an inside banner page


Editing the assigned pages for inside banners


Removing inside page banners


Video Tutorial
Questions?
How and why does the Advisor Products system work?
In today’s times, when consumers have become more demanding and tech-savvy, financial advisors must use content marketing to attract, inspire, engage, and convert their prospective customers.
A good content strategy is focused on developing and distributing consistent, valuable content to engage and retain prospective customers and target audience, via your website. Our content library provides financial advisors with fresh, high-quality financial content that is updated regularly, improving SEO along the way. And our automated e-newsletter and social media tools allow advisors to reach out to clients and prospects in an easy-to-use manner, providing frequent touch points for optimal brand building.
- Differentiate you from competitors
- Expose clients and prospects to your brand message more frequently
- Build an ongoing relationship with customers
- Increase your follows and fans on social media
- Drive more prospects to your website
- Help convert prospects into leads
- Increase number of pages indexed in Google
What products and services do you offer?
Can I buy services if my website is not hosted with you?
What can I expect during the onboarding process?
What if I have questions after my website is built?
Seeing is Believing.
See how easy it is to get started with our all-in-one digital marketing platform that drives leads, encourages referrals and increases client engagement.
SCHEDULE A DEMO
MARKETING TOOLS
LEARN MORE
RESOURCES
LATEST ARTICLES

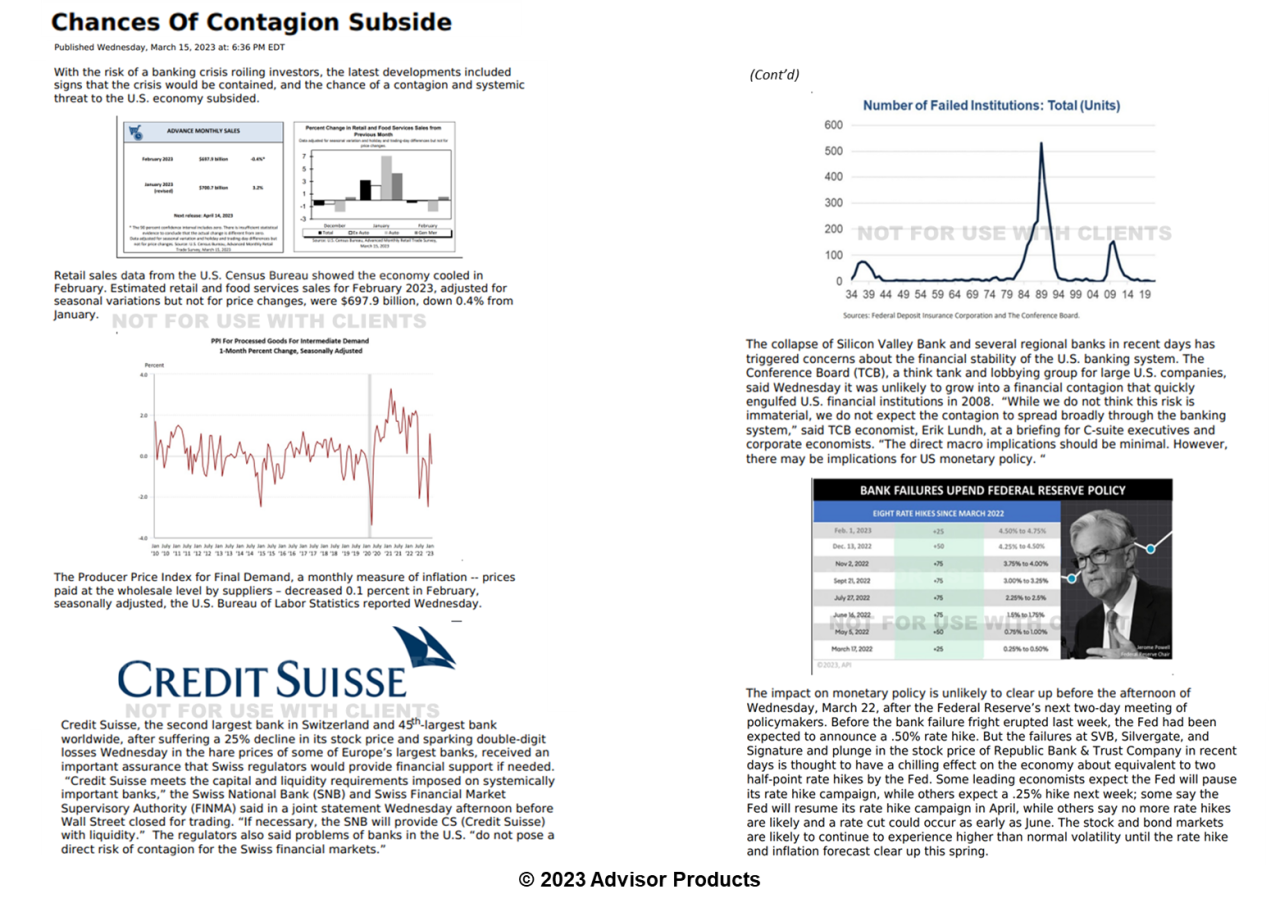

Bank instability in March added a new risk an outlook already clouded by inflation and monetary policy problems hobbling the post-pandemic recovery. The bank runs came on top of the inflation crisis caused since the pandemic of April 2020 and March 2...

March 15 was one of the most pivotal days of the past 50 years, and financial advisors played a crucial role in getting the facts out about the banking panic to their clients and community. Trouble is, your messaging must be:as timely as WSJ, NYT, CN...
WEEKLY FINANCIAL MARKETING VIDEO
Watch The Video


Advisor Websites and More
Advisor Products delivers high-quality, FINRA approved financial news articles and branded weekly financial videos published automatically to your financial advisor website. We also offer marketing tools like our easy-to-use financial blog, automated financial enewsletters, social media marketing tools to help financial advisors disseminate content quickly and easily.
Advisor Products delivers high-quality, FINRA approved financial news articles and branded weekly financial videos published automatically to your financial advisor website. We also offer marketing tools like our easy-to-use financial blog, automated financial enewsletters, social media marketing tools to help financial advisors disseminate content quickly and easily.
By using Advisor Products you agree to our use of cookies to enhance your experience I understand